
You signed the lease, hauled in your boxes, and now you’re staring at the same four white walls every single day. Sound familiar? If you’re renting an apartment, condo, or house, you already know the struggle: you crave color, pattern, and personality, but your lease says no painting, no nails, and absolutely no permanent changes. The good news? A colorful rental makeover is totally possible—and peel-and-stick wallpaper is your secret weapon.
Removable wallpaper has exploded in popularity over the last few years, and for good reason. It gives you the bold, designer-looking impact of traditional wallpaper without the glue, the mess, or the fear of losing your security deposit. Whether you want a dramatic floral accent wall in your bedroom or a playful checkerboard backsplash in your kitchen, temporary wallpaper lets you express your style and peel it all away before move-out day.
This guide walks you through everything you need to know about peel-and-stick wallpaper installation, from checking your lease to choosing the perfect pattern, prepping your walls, hanging your first panel, and removing it cleanly when your lease ends. No design degree required. Let’s transform that boring rental into a space that actually feels like home.
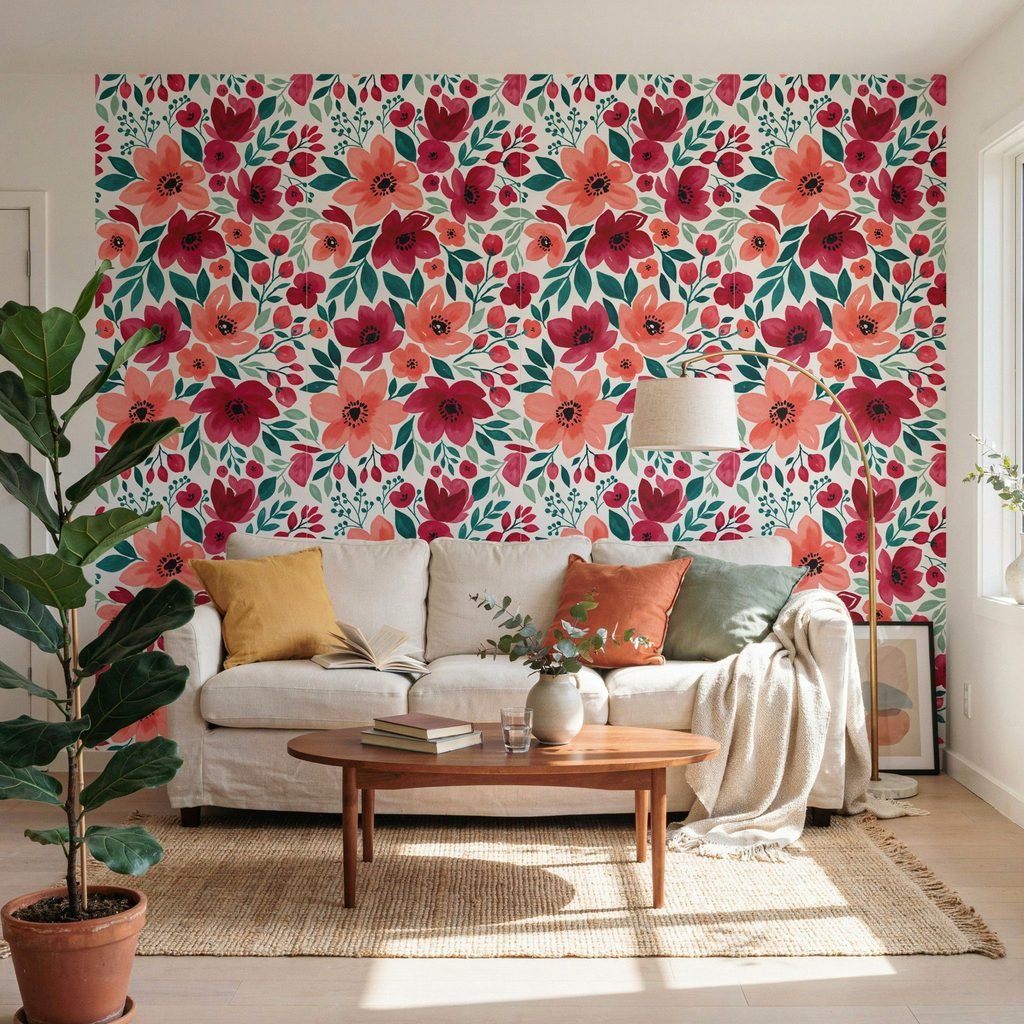
What Is Peel-and-Stick Wallpaper?
Peel-and-stick wallpaper is a self-adhesive, removable wall covering that works like a giant, high-quality sticker. You peel off a paper backing, press the adhesive side onto a clean wall, smooth it out, and you’re done. No mixing paste, no soaking strips, no professional installer needed.
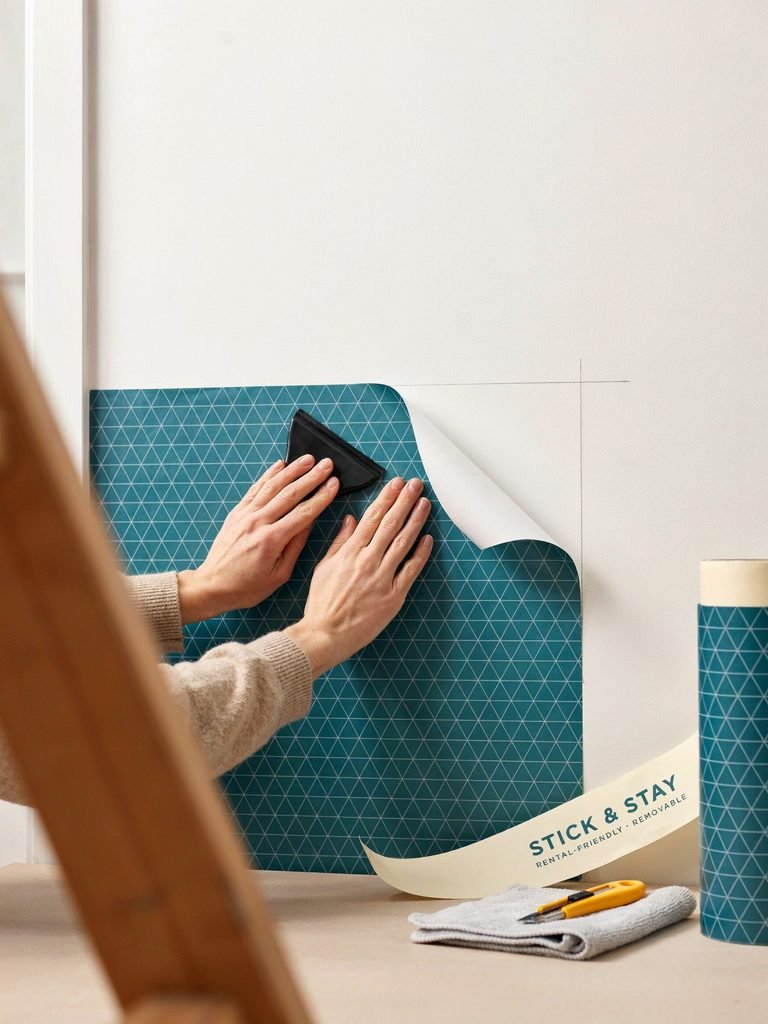
Here’s how it compares to other options:
- Traditional pasted wallpaper: Requires messy adhesive, more skill to hang, and can damage walls during removal. Peel-and-stick wallpaper skips all of that.
- Paint: Gives you color but often violates lease terms, requires prep and cleanup, and is difficult to reverse perfectly.
- Wall decals: Great for small accents but lack the full-coverage, immersive look of wallpaper.
- Contact paper: Thin and prone to tearing; peel-and-stick wallpaper is generally thicker, more durable, and designed specifically for walls.
Peel-and-stick wallpaper is popular in renter-friendly decor because:
- No wallpaper paste is needed—just peel and press.
- It can usually be removed more easily than traditional wallpaper.
- It delivers instant color, pattern, and texture.
- It works beautifully for a wallpaper accent wall or small spaces.
- It can be used beyond walls, including furniture fronts, shelf backs, and select decor surfaces.
A quick note: Removal results can vary depending on the specific product, the quality of the wall paint underneath, surface condition, how long the wallpaper has been installed, humidity levels, and whether your landlord approved any wall preparation. Always test first.
Check Your Lease Before Decorating
Before you unroll a single strip of removable wallpaper, pull out your lease agreement. Many rental contracts include clauses about wall modifications, adhesives, and decorating restrictions. A quick email or phone call to your landlord or property manager can save you headaches—and money—down the road.
Here’s a practical checklist:
- Take photos of every wall you plan to decorate before you begin. These serve as your “before” documentation.
- Inspect the walls for existing peeling paint, cracks, moisture stains, or damage. Note anything that was already there.
- Ask in writing whether adhesive-based removable wallpaper is permitted. Get a yes or no in an email or text.
- Keep receipts and product details in case questions come up at move-out.
- Test a small, hidden area first—behind a bookshelf or inside a closet—before committing to a full wall.
- Understand the risk: Even removable wallpaper can potentially pull up weak or poorly adhered paint, or leave light residue on certain surfaces.
Do not apply peel-and-stick wallpaper over damaged drywall, heavily textured walls that the product isn’t designed for, damp or moldy areas, or freshly painted walls that haven’t fully cured (most manufacturers recommend waiting at least three to four weeks after painting).
Choose the Right Peel-and-Stick Wallpaper
Selecting the right removable wallpaper for apartments comes down to room size, natural lighting, your personal style, and budget. Here are some peel-and-stick wallpaper ideas to get you started:
- Bold florals create a dramatic, romantic vibe in a bedroom or powder room.
- Geometric patterns suit modern apartments and minimalist spaces.
- Neutral patterns (think subtle linen-look or tone-on-tone designs) are perfect for renters who want a gentle upgrade.
- Colorful checkerboard designs bring playful energy to kitchens and entryways.
- Faux tile wallpaper works as a temporary backsplash wallpaper in rentals.
- Grasscloth-look, linen-look, or textured patterns add sophistication to living rooms and dining areas.
- Small-scale prints keep wallpaper for small spaces from feeling overwhelming.
- Large murals make one statement wall unforgettable.
Choosing Your Colors
Color sets the mood of any room. Keep these guidelines in mind:
- Warm colors like terracotta, mustard, coral, and red make a room feel cozy and energetic.
- Cool colors like blue, sage green, teal, and lavender create a calming, restful effect.
- Bright, busy patterns look best when balanced with neutral furniture and simple accessories.
- Coordinate your palette with existing flooring, cabinets, countertops, and furniture so the space feels intentional, not chaotic.
Before You Buy
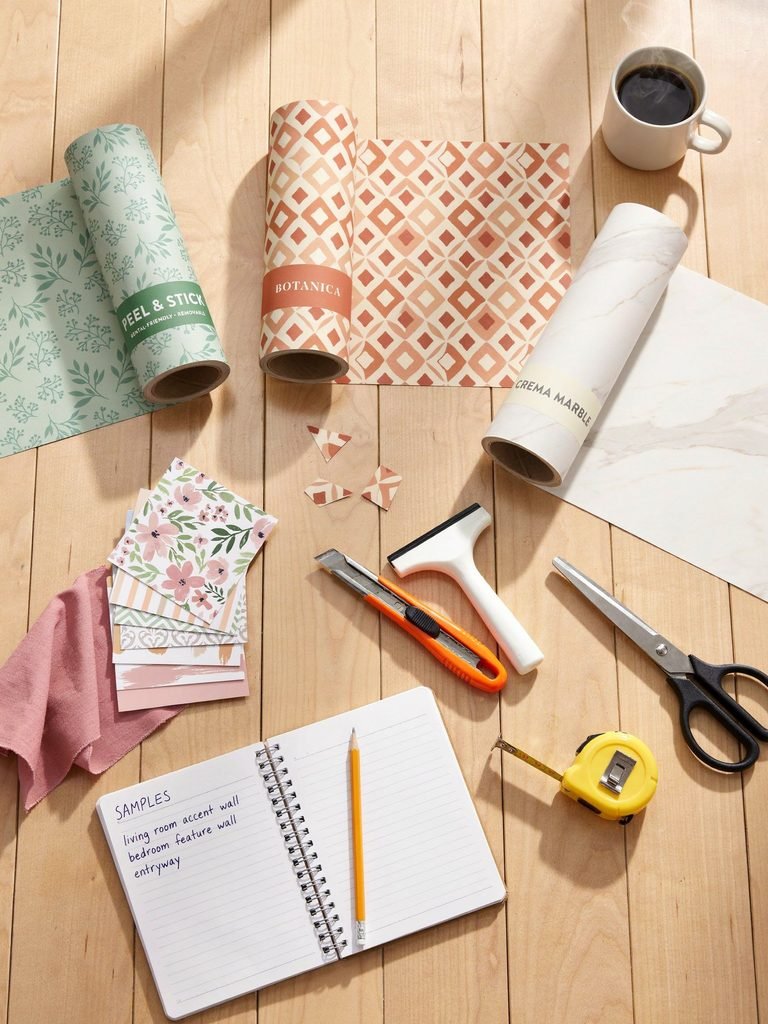
- Order samples. Most brands sell small swatches for a few dollars. Stick them on your wall and live with them for a day or two.
- Check the pattern repeat. A larger repeat means you’ll need more wallpaper to match the design across panels.
- Measure carefully. Multiply wall width by height, then divide by the square footage each roll covers. Always buy at least one extra roll for mistakes or future repairs.
Tools and Materials You Need
Gather everything before you start so you’re not mid-installation scrambling for scissors. Here’s your peel-and-stick wallpaper installation supply list:
- Peel-and-stick wallpaper rolls (plus one extra)
- Measuring tape
- Pencil
- Level or laser level
- Utility knife with fresh blades (pack extras)
- Squeegee or wallpaper smoothing tool
- Straightedge or metal ruler
- Step stool or small ladder
- Clean microfiber cloth
- Mild wall cleaner (a few drops of dish soap in warm water works)
- Painter’s tape
- Scissors
- Drop cloth or old sheet to protect floors
Why prep matters: Clean walls help the adhesive bond properly, and accurate measurements prevent crooked panels, wasted material, and pattern mismatches. A little patience up front saves a lot of frustration later.
How to Prepare Rental Walls
Proper preparation is the backbone of a smooth, long-lasting install. Follow these steps:
- Clear the wall. Remove art, shelves, and outlet covers if your lease allows. Move nearby furniture out of the way.
- Clean thoroughly. Wipe down the wall with a damp microfiber cloth and mild cleaner to remove dust, grease, fingerprints, and any residue.
- Let it dry completely. Even slight dampness can weaken adhesion.
- Fill minor holes only if your landlord has approved it. Use a small amount of spackle and sand smooth.
- Inspect the surface. Look for texture, bubbling paint, moisture, or loose drywall. If anything looks questionable, skip that wall.
- Measure the wall height and width. Write it down.
- Mark a vertical starting line using a level and pencil, a few inches in from the corner. This is your true guide—don’t trust corners or ceiling lines, which are often not perfectly straight.
- Protect floors and furniture with a drop cloth.
Most peel-and-stick wallpapers adhere best to clean, dry, smooth, properly painted walls. Always follow the specific manufacturer’s instructions, because products vary.
Step-by-Step Guide to Installing Peel-and-Stick Wallpaper
Ready to hang? This how-to-install-peel-and-stick-walkthrough is designed for complete beginners.
- Measure and cut your first panel. Add three to four extra inches at the top and bottom for trimming.
- Align to your vertical guideline, not the ceiling or corner. This keeps the panel truly plumb.
- Peel back only six to eight inches of the backing paper at the top.
- Press the top edge onto the wall, aligning it with your pencil line. Leave the extra inches overlapping onto the ceiling.
- Smooth from the center outward with your squeegee to push out air bubbles.
- Slowly pull the backing paper down a few inches at a time while smoothing the wallpaper with your other hand.
- Match the pattern carefully before applying each new panel. Hold it up and check alignment before pressing.
- Overlap panels slightly only if the manufacturer recommends it; otherwise, butt edges together snugly.
- Trim excess at the ceiling, baseboards, windows, and doors using a straightedge and a sharp utility knife.
- Work around outlets, switches, and corners carefully. Cut small relief slits around obstacles rather than trying to stretch the material.
- Re-smooth all seams and edges once the full installation is complete.
Troubleshooting Tips
- Air bubbles: Gently lift the affected area and re-smooth. For stubborn bubbles, prick with a pin and press flat.
- Crooked first panel: Peel it off and re-align to your guideline. It’s much easier to reposition early.
- Pattern not lining up: Step back and check before pressing. Adjust before the adhesive fully bonds.
- Lifting edges: Press firmly with a squeegee; a tiny bit of wallpaper-safe adhesive can help if the product allows.
- Wrinkles: Lift gently and smooth from the center outward.
- Misaligned repeat: It’s easier to fix now than after the panel is fully stuck. Peel back and adjust.
- Cut too much material: This is why you bought an extra roll. Patch or recut as needed.
Remember: it is far easier to lift and reposition a panel early in the process than after you’ve pressed it firmly into place. Take your time.
Best Rooms for a Colorful Rental Wallpaper Makeover
Not sure where to start? Here are renter-friendly home upgrades room by room:
- Living room: Create a colorful apartment accent wall behind the sofa or TV console for instant drama.
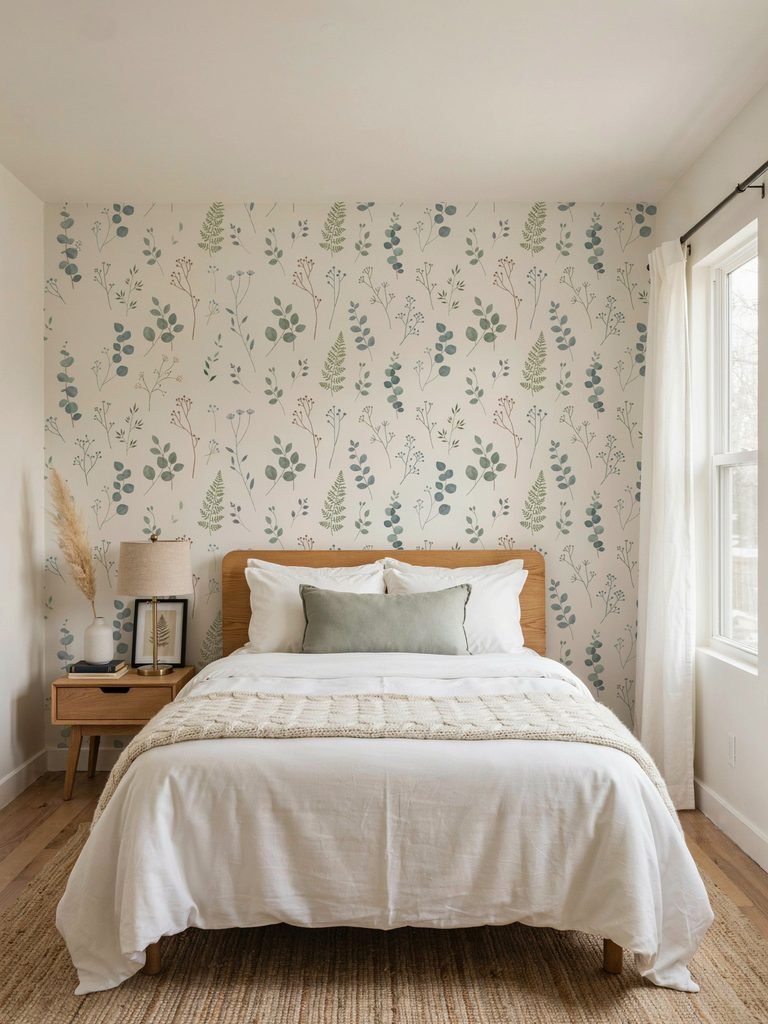
- Bedroom: Hang floral, abstract, or calming blue-and-green removable wallpaper behind the bed for a serene retreat.
- Entryway: A cheerful print makes a tiny entrance feel intentional and welcoming.
- Home office: Use a motivating geometric pattern or colorful mural as your video-call backdrop.
- Bathroom: Add removable wallpaper above tile or away from direct shower spray, provided the product is rated for humid spaces.
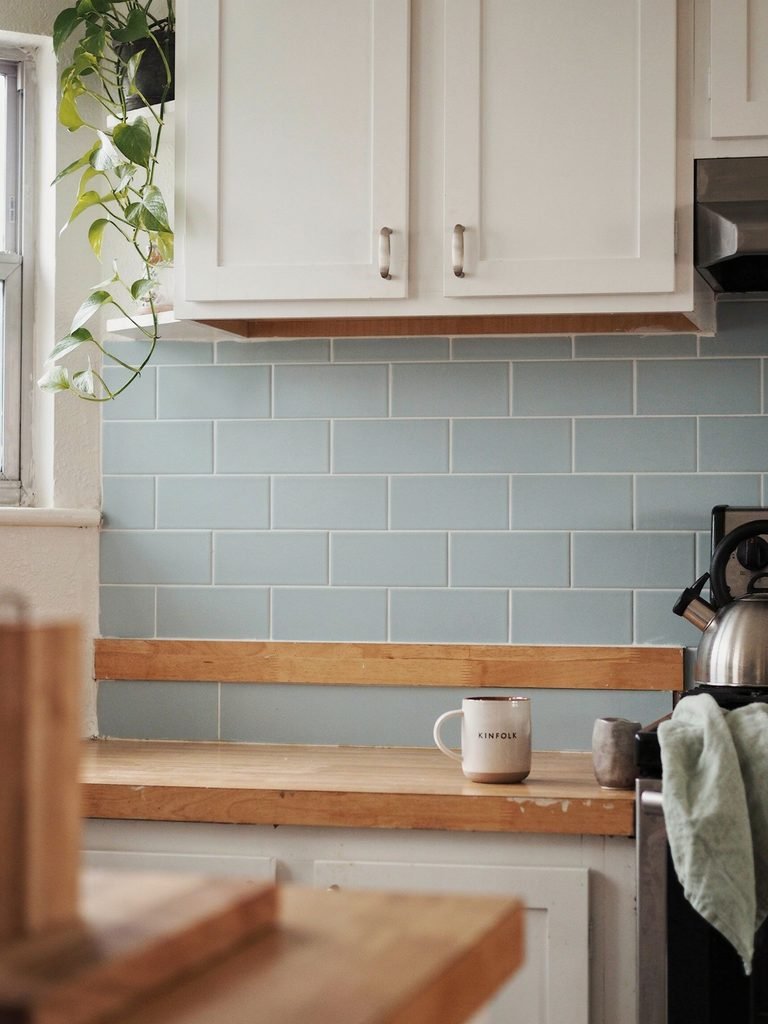
- Kitchen: Apply temporary backsplash wallpaper on a clean wall section, avoiding high-heat and heavily splashed zones unless the product is specifically designed for them.
- Kids’ room: Playful stars, rainbows, animals, stripes, or bright shapes spark imagination.
- Laundry room: A colorful pattern turns a purely practical space into one you actually enjoy.
Don’t want to cover a full wall? Try wallpapering a closet interior, the back panel of a bookshelf, stair risers (where permitted), a reading nook, a pantry wall, or create framed wallpaper panels as removable art.
Creative Ways to Use Removable Wallpaper Beyond Walls
Peel-and-stick wallpaper isn’t just for walls. These small DIY rental makeover projects add personality without touching a single nail:
- Refresh dresser drawer fronts with a coordinating pattern.
- Cover the back panel of open shelving for a pop of color.
- Line the inside of cabinets or closets for a fun surprise every time you open a door.
- Upgrade a plain desk surface.
- Frame wallpaper samples as removable wall art—zero nails required if you use adhesive strips.
- Cover a plain storage cabinet or bar cart.
- Create a temporary headboard wall effect behind your bed.
- Add personality to a rental bathroom vanity using appropriate, removable materials and landlord approval.
Always test surfaces first, especially on furniture finishes, laminate, veneer, and painted cabinets. Adhesion and clean removal can vary.
How to Remove Peel-and-Stick Wallpaper Before Moving
The whole point of damage-free decorating is that it comes down cleanly. When your lease ends, follow these removable wallpaper removal steps:
- Start at a corner or seam and gently lift the edge.
- Pull slowly at a low angle, close to the wall, rather than yanking straight outward.
- Use gentle warmth from a hair dryer on a low setting only if the manufacturer recommends it. This softens the adhesive.
- Remove any adhesive residue with a surface-safe cleaner. Test the cleaner in a hidden spot first.
- Inspect the walls for any paint lifting or damage.
- Take after-photos for your move-out documentation.
Review your move-out requirements and communicate with your landlord promptly if any minor wall repairs are needed.
Common Peel-and-Stick Wallpaper Mistakes to Avoid
Even with the best intentions, small missteps can cause big headaches. Avoid these:
- Skipping wall cleaning before installation
- Not ordering samples first
- Underestimating how much wallpaper you need
- Starting without a level guideline
- Using dull utility knife blades (they tear the material)
- Applying wallpaper to damp, textured, or damaged walls
- Choosing oversized patterns for very small rooms without planning the layout
- Ignoring pattern repeat measurements when calculating yardage
- Using wallpaper in unsuitable high-moisture or high-heat locations
- Failing to save extra material for repairs
- Assuming every “removable” product is damage-free on every wall surface
Budget-Friendly Rental Decorating Tips
Colorful rental decorating doesn’t stop at wallpaper. Pair your removable wall covering with these affordable apartment decorating ideas:
- Add removable hooks for lightweight art and textiles.
- Layer in colorful curtains, rugs, and throw pillows that echo your wallpaper palette.
- Upgrade lampshades or swap bulbs to warm-toned lighting for instant coziness.
- Apply renter-friendly window film for privacy and style.
- Hang large mirrors to bounce light and make small apartments feel bigger.
- Style with removable wall decals and framed art alongside your wallpaper accent wall.
- Use peel-and-stick floor tiles only where your lease rules and product instructions allow.
- Tidy up with storage baskets and coordinated organizers to make the whole space feel polished and intentional.
Final Thoughts: Make Your Rental Feel Like Home
You don’t need to own a place to make it beautiful. Peel-and-stick wallpaper gives you the freedom to experiment with bold florals, calming geometrics, playful checkerboards, and rich textures—then walk away cleanly when your lease ends. It’s one of the most effective, landlord-friendly upgrades available to renters today, and it costs a fraction of a professional renovation.
So grab your samples, measure your walls, queue up your favorite playlist, and give yourself the colorful home you’ve been dreaming about. Your future self—and your security deposit—will thank you.
Frequently Asked Questions
1. Will peel-and-stick wallpaper damage my rental walls?
When applied to clean, smooth, fully cured painted walls and removed according to the manufacturer’s instructions, most peel-and-stick wallpapers come off without damage. However, weak, old, or poorly adhered paint can lift. Always test a small hidden area first and get written permission from your landlord.
2. How long does peel-and-stick wallpaper last in a rental?
Quality removable wallpaper can last anywhere from one to five years or more, depending on the product, wall conditions, humidity, and installation quality. It’s designed to stay put during your tenancy and still come off cleanly at move-out.
3. Can I use peel-and-stick wallpaper in a bathroom or kitchen?
Yes, but choose a product specifically rated for humid or splash-prone areas. Keep wallpaper away from direct shower spray and high-heat zones like behind a stove. Faux tile temporary backsplash wallpaper is a great option for kitchen walls that don’t face heavy cooking splatter.
4. How do I calculate how many rolls of removable wallpaper I need?
Measure the width and height of each wall you plan to cover. Multiply to get square footage, then divide by the square footage listed on the wallpaper roll. Account for pattern repeat waste, and always add at least one extra roll for mistakes and future patches.
5. What’s the easiest way to remove peel-and-stick wallpaper before moving out?
Start at a corner or seam, pull slowly at a low angle close to the wall, and use a hair dryer on low heat if the manufacturer allows it. Clean any light residue with a surface-safe cleaner. Take photos afterward for your records and report any needed touch-ups to your landlord promptly.