
There’s something deeply satisfying about rescuing a tired, scratched-up dresser from the curb—or spotting a gem at a weekend garage sale—and turning it into a showstopping centerpiece for your home. If you’ve ever scrolled through Pinterest or Instagram and marveled at those gorgeous painted furniture ideas that look like they belong in a designer showroom, here’s the good news: you don’t need a professional painter, a huge budget, or even much experience to achieve the same results. All you really need is a can of chalk paint, a few basic supplies, and a weekend to spare.
Chalk paint has taken the DIY home improvement world by storm, and for good reason. This magical, velvety paint clings to nearly any surface without the tedious sanding and priming that traditional paints demand. Whether you’re tackling a furniture restoration project on a hand-me-down oak table or breathing new life into a thrift flip furniture find, chalk paint delivers rich, matte color with remarkably little effort. In this comprehensive guide, we’ll walk you through everything you need to know about chalk paint furniture makeovers—from preparation and painting techniques to stunning color combinations, popular home decor styles, and the mistakes you absolutely want to avoid. Let’s dive in and get colorful!
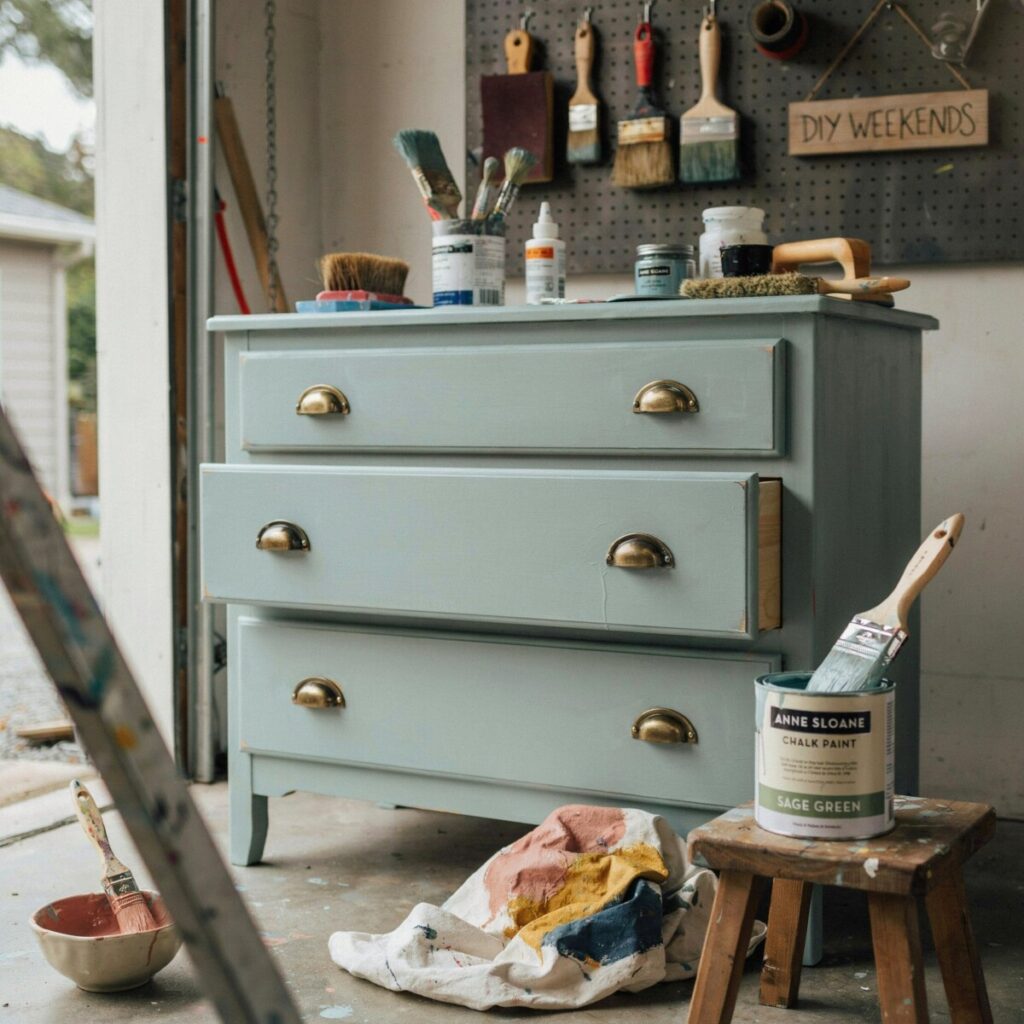
Why Chalk Paint Is the Secret to Stunning DIY Furniture Makeovers
Before we pick up a brush, it’s worth understanding why chalk paint has become the go-to choice for furniture upcycling enthusiasts across the United States. Unlike standard latex or oil-based paints, chalk paint is formulated with a higher concentration of pigment and a unique binder that gives it its signature ultra-matte, chalky finish.
Here’s what makes chalk paint a favorite for DIY furniture makeover projects:
- No sanding or priming required (usually): You can paint directly over varnished wood, laminate, and even metal in most cases, saving you hours of prep work.
- Exceptional coverage: A single coat often provides full, rich coverage, meaning fewer layers and less paint wasted.
- Beautiful matte finish furniture: The flat, velvety finish gives every piece a sophisticated, artisan look that feels both vintage and modern.
- Easy to distress: If you love the distressed furniture look with worn edges and exposed wood, chalk paint sands off effortlessly for that perfectly imperfect charm.
- Low VOC options: Many popular brands offer low-odor, eco-friendly formulas that are safe for indoor use—even in small apartments.
Whether you’re decorating a cozy cottage, a modern farmhouse, or a boho-chic studio apartment, chalk paint offers the versatility to match nearly any aesthetic. It’s the ultimate tool for affordable home decor transformations.
Step-by-Step Chalk Paint Furniture Makeover Tutorial
Ready to roll up your sleeves? Follow this chalk paint tutorial from start to finish for professional-looking results every time.
Preparing Your Furniture
Preparation is the unsung hero of any successful furniture refinishing project. Start by removing all hardware—knobs, pulls, hinges, and drawer slides. Place screws and small pieces in a labeled baggie so nothing gets lost. Inspect the piece for loose joints, wobbly legs, or damaged veneer. A quick tightening with wood glue or a few clamps can save you headaches later.
Cleaning and Light Sanding
This step is critical and often skipped by eager beginners—don’t be one of them! Over time, furniture accumulates grease, dust, furniture polish residue, and grime that will prevent paint from adhering properly. Use a degreaser like TSP substitute or a mixture of warm water and mild dish soap. Scrub every surface thoroughly, including the inside of drawers, and let the piece dry completely (usually overnight).
While chalk paint doesn’t require heavy sanding, a light scuff with 150- to 220-grit sandpaper creates “tooth” that helps the paint grip, especially on glossy or lacquered surfaces. Wipe away all dust with a tack cloth before you begin painting.
Applying Primer (When Needed)
For most painted dresser makeover or painted nightstand projects, primer isn’t necessary. However, you’ll want to reach for a stain-blocking primer if you’re dealing with:
- Deep water stains or tannin bleed (common with oak and mahogany)
- Strong odors, such as cigarette smoke
- Very dark woods that might ghost through lighter colors
A shellac-based primer works wonders for problem pieces and dries fast enough to paint over the same day.
Painting with Chalk Paint
Now comes the fun part. Use a high-quality synthetic bristle brush (angled brushes work beautifully for details) or a foam roller for larger, flat surfaces. Here are some pro furniture painting tips:
- Stir, don’t shake: Shaking introduces bubbles that can ruin your finish.
- Work in thin, even coats: Chalk paint is thick, but thin layers dry faster and reduce brush marks.
- Follow the wood grain: Brush in the direction of the grain for the smoothest result.
- Let each coat dry fully: Most chalk paints dry to the touch in 30–45 minutes, but waiting a full 1–2 hours between coats ensures the best adhesion.
- Two coats is usually enough: A third coat may be needed for dramatic color changes (like painting over black with blush pink).
Distressing for That Vintage Charm
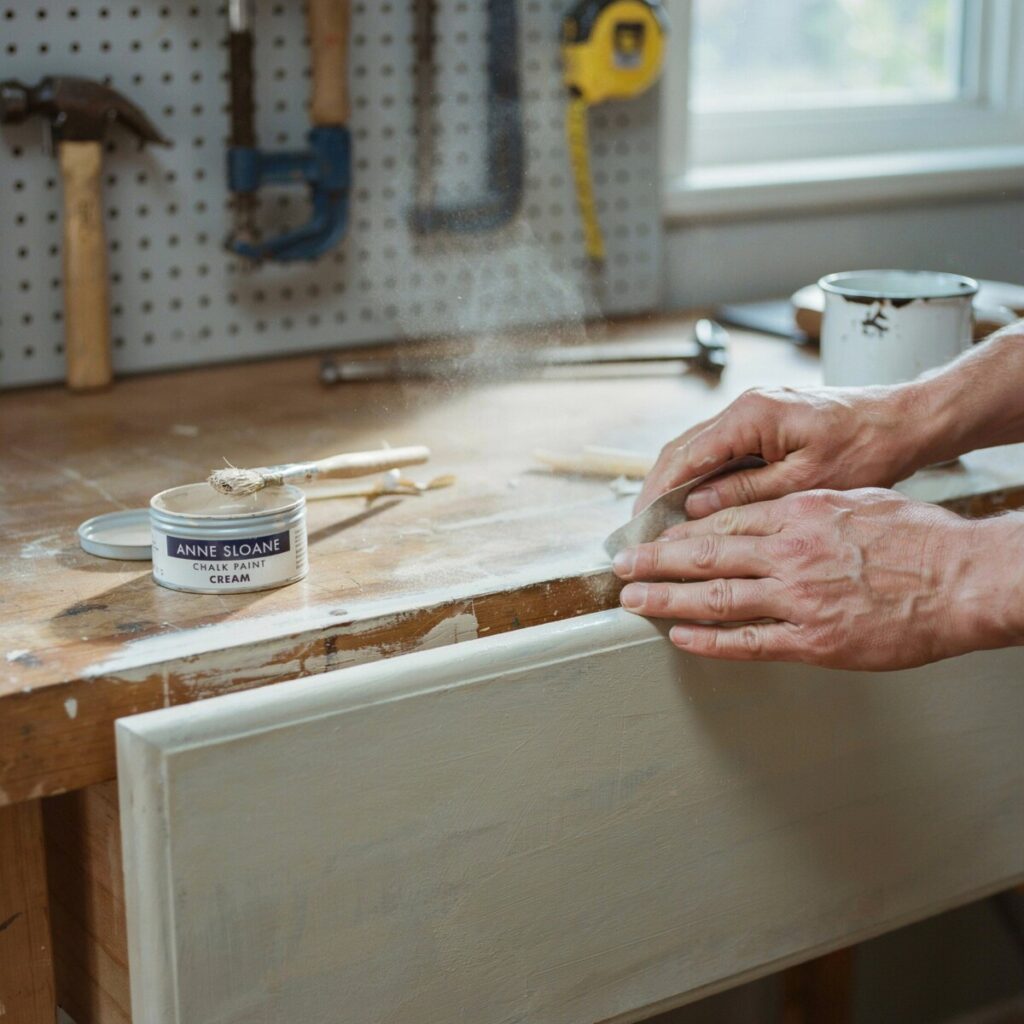
Love the rustic furniture makeover aesthetic with character and history? Distressing is where you get creative. Once your final coat is fully dry, grab a fine-grit sanding block or sandpaper and gently sand:
- Edges and corners where natural wear would occur
- Raised details and carved moldings
- Around drawer fronts and hardware holes
The goal is to reveal hints of the original wood or the base coat beneath, giving your piece an authentically aged vintage furniture makeover feel. Wipe away dust with a damp cloth before sealing.
Sealing and Finishing
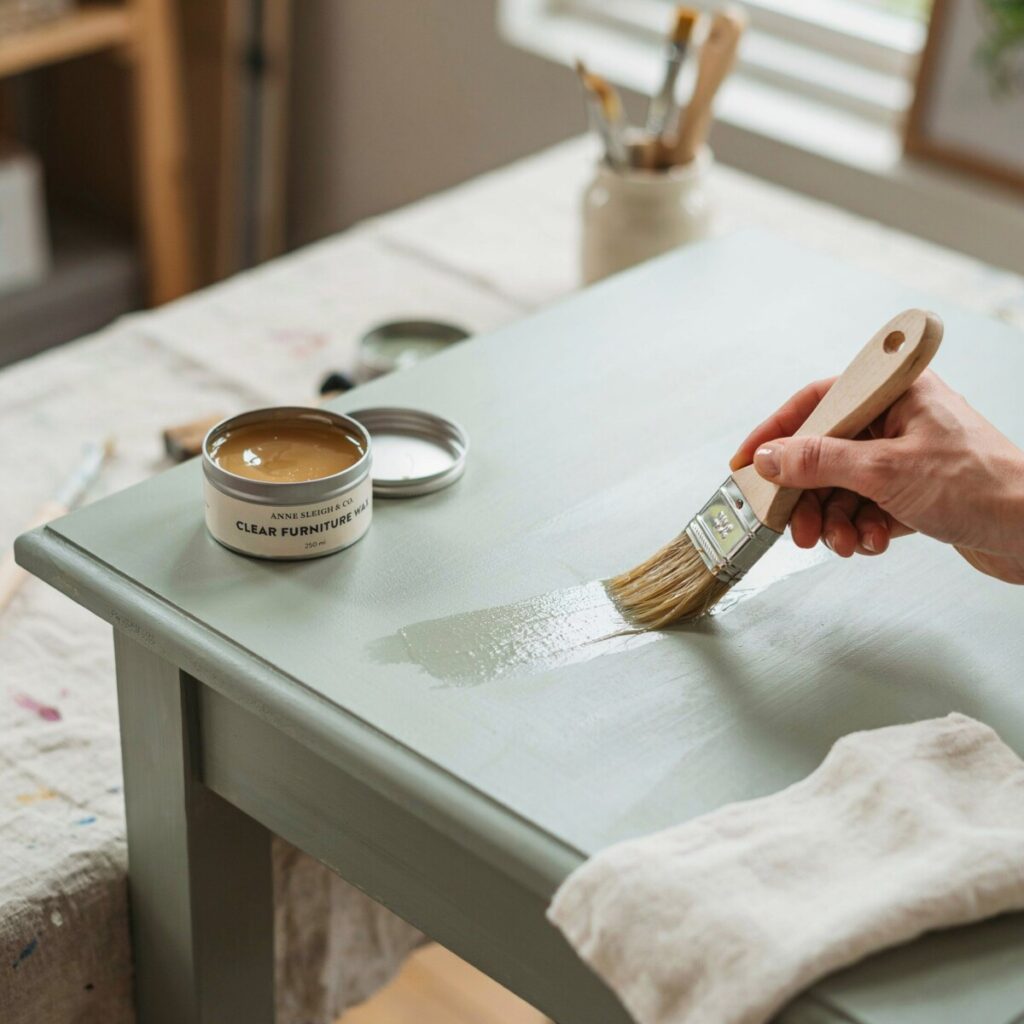
This step is non-negotiable. Unsealed chalk paint is porous and will stain, chip, and wear quickly—especially on high-traffic pieces like coffee tables and dining chairs. You have three main sealing options:
- Furniture wax: The classic choice. Apply with a lint-free cloth or wax brush, let it haze, and buff to a soft sheen. Wax gives a beautiful hand-rubbed look but needs reapplication every year or two.
- Polyurethane (water-based): More durable than wax and great for tabletops, kids’ furniture, and kitchen cabinets. It dries clear and won’t yellow over time.
- Polycrylic: A lighter alternative to poly, ideal for light-colored paints where any potential yellowing is a concern.
Apply your sealer according to the manufacturer’s directions—typically two to three thin coats with light sanding between layers for the smoothest result.
Colorful Chalk Paint Combinations to Try
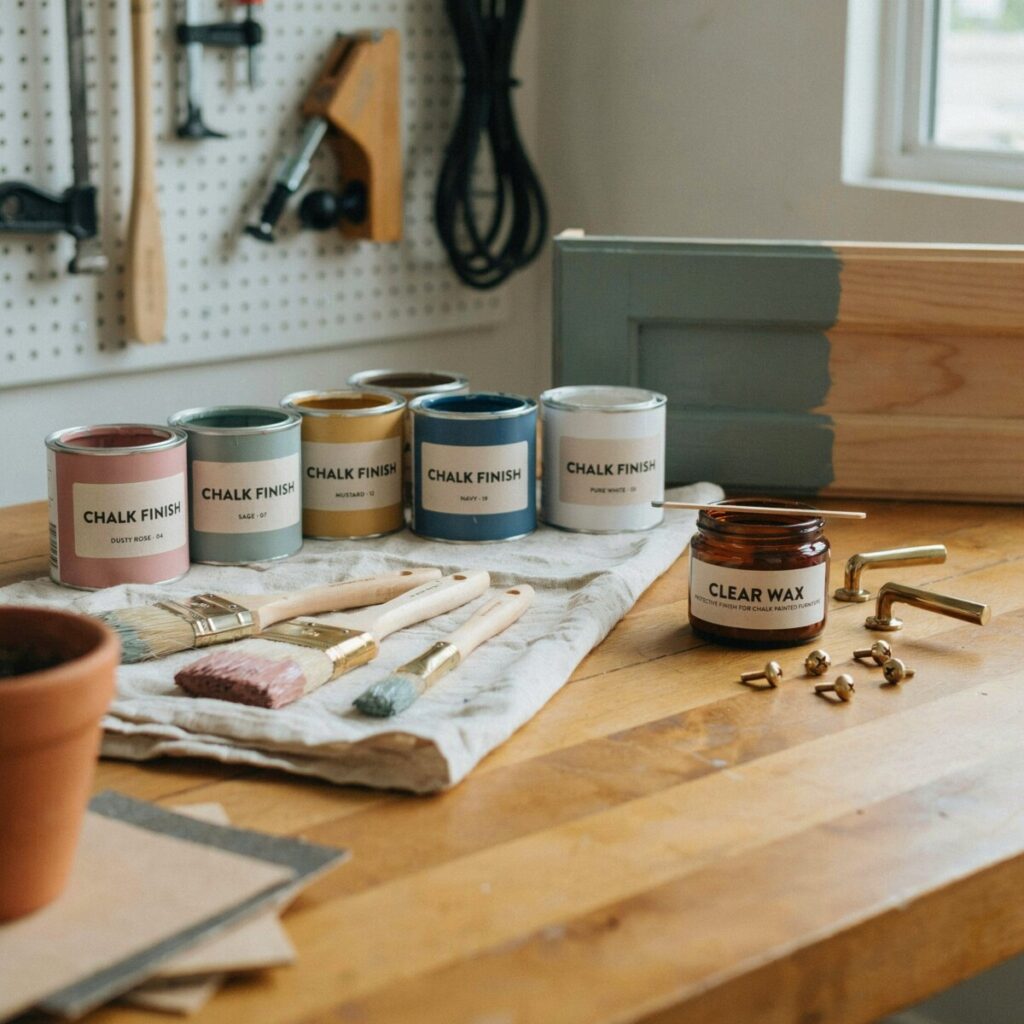
One of the most exciting aspects of colorful furniture makeover projects is choosing your palette. Here are trending colors that work beautifully in American homes right now:
- Teal: A sophisticated, moody shade that pairs gorgeously with brass hardware and warm wood accents. Perfect for a creative furniture makeover on a mid-century dresser.
- Sage Green: The undisputed darling of the cottagecore and modern farmhouse movements. Soft, calming, and universally flattering.
- Mustard Yellow: A bold, joyful accent color that warms up any room. Try it on a single statement piece like a side table or bookshelf.
- Blush Pink: Far from childish, modern blush is muted and grown-up—think dusty rose with gray undertones. Stunning on chairs and vanities.
- Navy Blue: Classic, grounding, and endlessly versatile. Navy cabinets or a navy-painted buffet feel both traditional and contemporary.
- Coral: A vibrant, cheerful hue that injects energy into coastal or boho spaces. Pairs beautifully with rattan and woven textures.
- Soft Lavender: A trending pastel that feels fresh and unexpected. Works especially well in bedrooms and nurseries for a dreamy painted furniture ideas moment.
Don’t be afraid to mix colors within a single room—two-toned dressers (dark base, light top) or mismatched nightstands in coordinating hues add visual interest and personality.
Furniture Types Perfect for Chalk Paint Makeovers
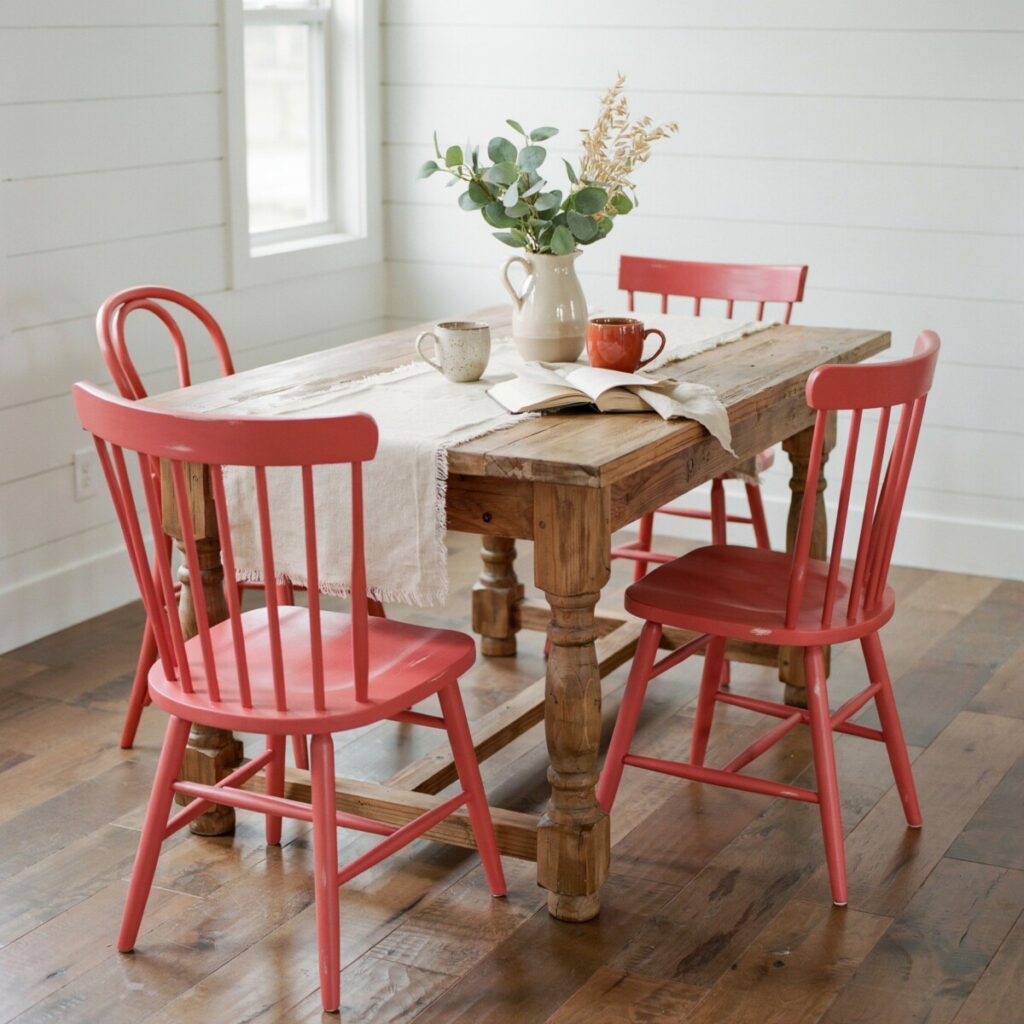
Not every piece is created equal when it comes to budget furniture makeover potential. Here are the best candidates for your next project:
- Dressers: The ultimate canvas. A painted dresser makeover can completely redefine a bedroom.
- Nightstands: Small, manageable, and great for experimenting with bold colors or two-tone designs.
- Coffee Tables: High-impact, high-visibility pieces that anchor your living room.
- Dining Chairs: A set of mismatched thrifted chairs painted the same color instantly looks curated.
- Cabinets and Hutches: Kitchen or dining room cabinets painted in a rich color like navy or sage green feel custom-made.
- Side Tables and End Tables: Perfect beginner projects—they’re small, fast, and forgiving.
- Bookshelves: A painted bookshelf becomes an instant focal point, especially styled with books, plants, and decor.
When shopping for pieces to flip, look for solid wood construction, interesting details (carvings, turned legs, raised panels), and good bones. Cosmetic issues like scratches, outdated finishes, and missing hardware are easy to fix.
Styling Your Makeovers: Farmhouse, Boho, Rustic, and More
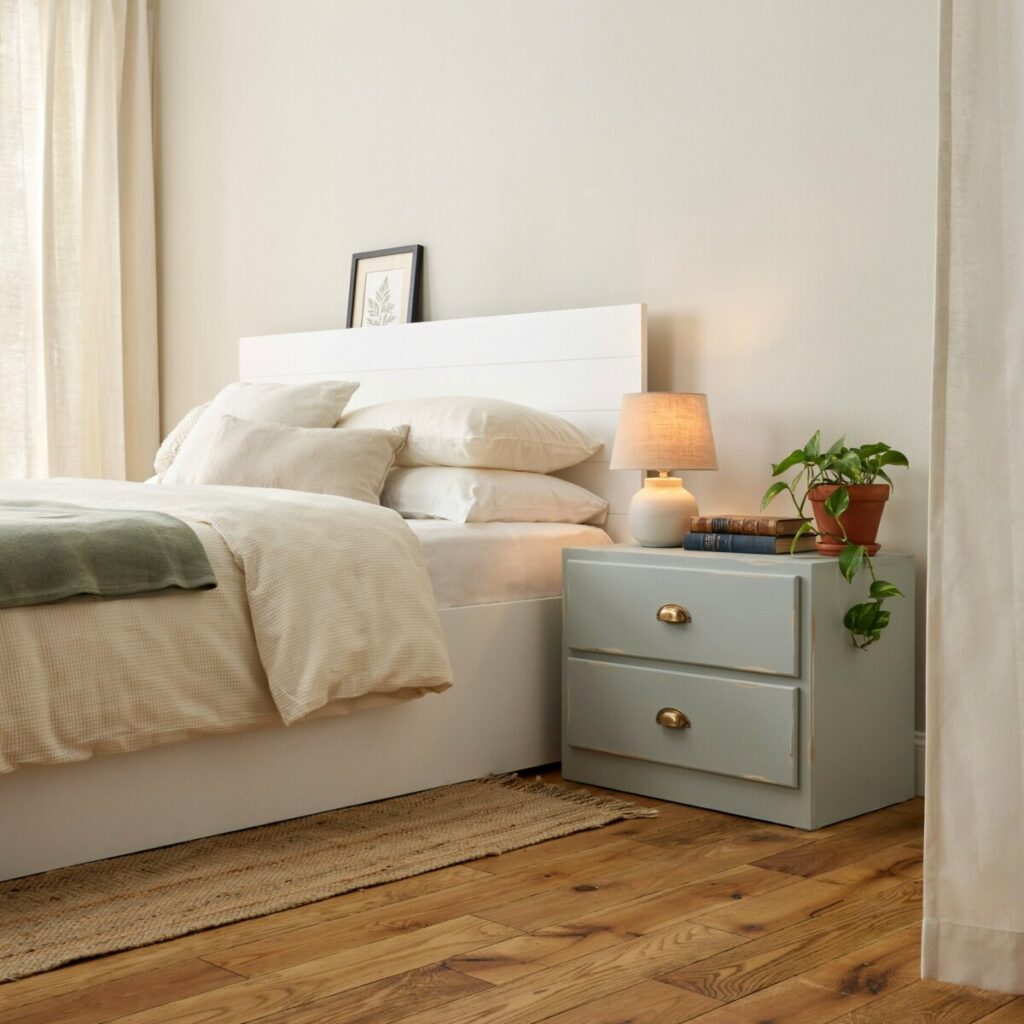
Your chalk paint ideas should reflect the overall style of your home. Here’s how to tailor your projects to popular American decor aesthetics:
- Modern Farmhouse: Stick with whites, creams, soft grays, and sage greens. Distress edges lightly and pair with black matte hardware for that Joanna Gaines-inspired look.
- Boho: Go bold with coral, mustard, or deep teal. Layer textures like macramé, rattan, and plants around your piece for a free-spirited vibe.
- Rustic: Lean into the distressed furniture look with heavier sanding and natural, earthy tones. Consider a whitewash or limewash effect for a weathered, barn-board aesthetic.
- Vintage: Use rich, saturated colors like navy, burgundy, or forest green. Apply glaze over the paint to deepen shadows and enhance carvings for an antique feel.
- Cottagecore: Think soft pastels—blush pink, lavender, butter yellow—paired with floral fabrics, vintage teacups, and plenty of fresh flowers.
- Modern Eclectic: Don’t be afraid to clash (intentionally). A bright teal dresser next to a mustard yellow armchair, layered with global textiles and metallic accents, creates a curated, collected-over-time look.
Budget-Friendly Thrift Store Flips and Upcycling Tips
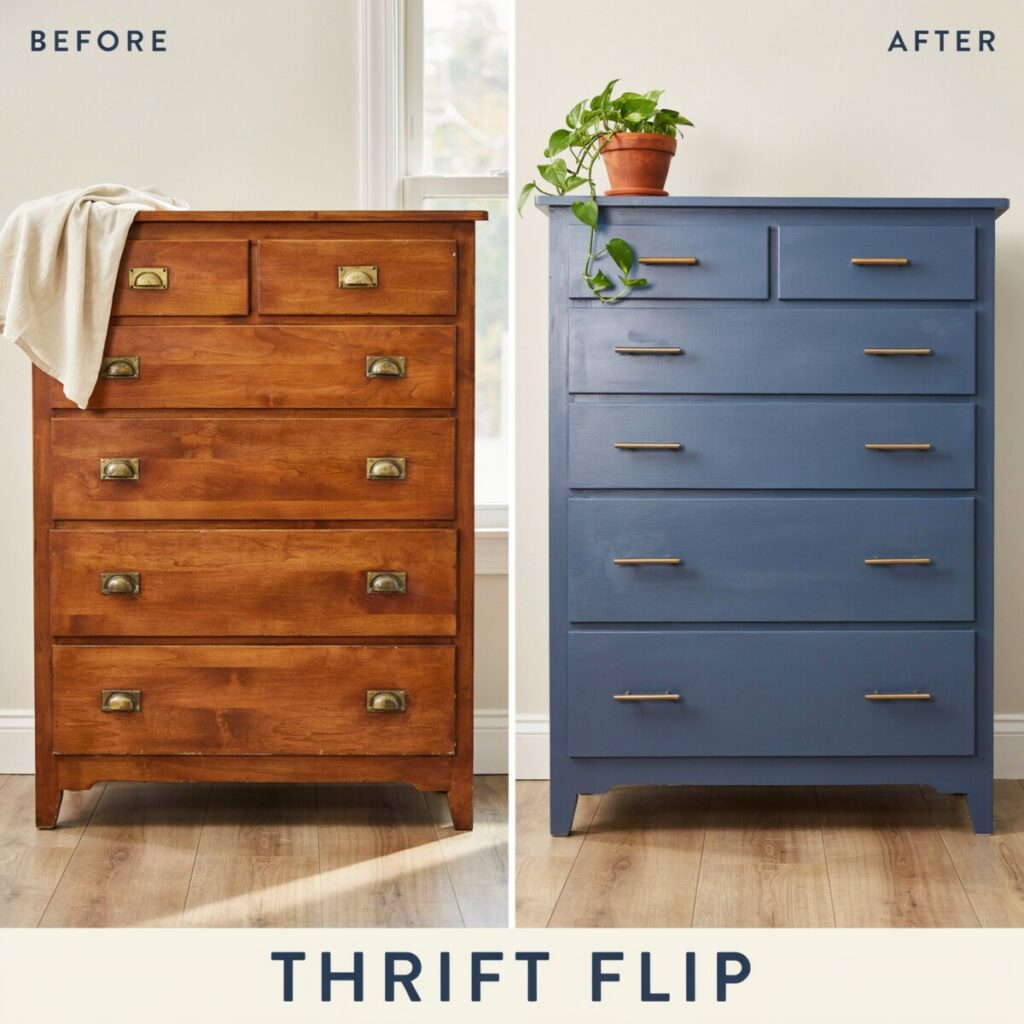
The most rewarding upcycled furniture projects often start with a $20 thrift store find and a weekend of elbow grease. Here’s how to maximize your affordable home decor budget:
- Scout regularly: Visit Goodwill, Salvation Army, Habitat for Humanity ReStores, and local Facebook Marketplace listings weekly. The best pieces disappear fast.
- Go early on restock days: Many thrift stores restock on specific days. Ask employees when new items hit the floor.
- Attend estate and garage sales: Saturday mornings in suburban neighborhoods are gold mines for solid wood furniture at rock-bottom prices.
- Check the “free” section: Craigslist and Buy Nothing groups often have perfectly good furniture being given away by people who just want it gone.
- Invest in quality paint: While it’s tempting to buy the cheapest option, higher-quality chalk paint goes further, covers better, and lasts longer—saving you money in the long run.
- Repurpose hardware: Save old knobs and pulls from previous projects, or spray-paint outdated hardware with metallic spray paint for a luxe upgrade at pennies on the dollar.
A typical thrift flip furniture project can be completed for under $50 total—a fraction of what you’d pay for a comparable new piece from a big-box retailer.
Common Chalk Paint Mistakes to Avoid
Even experienced DIYers make mistakes. Here’s what to watch out for to ensure your furniture restoration project is a success:
- Skipping prep work: Failing to clean properly is the #1 reason paint peels or chips. Always degrease and lightly sand.
- Applying too much paint: Thick coats take forever to dry, wrinkle, and show brush marks. Thin and even wins the race.
- Not letting coats dry between applications: Patience pays off. Rushing leads to gummy paint that lifts off with the next brush stroke.
- Forgetting to seal: Unsealed chalk paint is beautiful but fragile. Every piece needs a protective topcoat.
- Over-distressing: It’s easy to get carried away and sand right through to bare wood in spots. Step back frequently and assess.
- Using cheap brushes: Low-quality brushes shed bristles and leave streaks. Invest in a few good brushes—they’ll last for dozens of projects.
- Painting in extreme temperatures: Avoid painting in very hot, cold, or humid conditions, which affect drying and curing times.
Frequently Asked Questions About Chalk Paint Furniture Makeovers
Do I really need to use wax or a sealer over chalk paint?
Yes. While chalk paint dries hard, it remains porous and will absorb stains, oils, and moisture without a protective topcoat. Wax gives a beautiful hand-rubbed finish, while polyurethane offers maximum durability for high-use pieces.
Can I use chalk paint on laminate or veneer furniture?
Absolutely. Clean thoroughly and lightly sand to create grip. For very slick laminate surfaces, a bonding primer helps ensure the paint adheres long-term.
How long does a chalk paint makeover take?
Most small to medium projects (a nightstand or side table) can be completed in a weekend. Larger pieces like dressers or hutches may take two to three days, mostly due to drying time between coats and sealing.
Why is my chalk paint showing brush strokes?
Chalk paint naturally has some texture, but excessive brush marks usually mean the paint was applied too thickly or the brush was overloaded. Try thinning your paint slightly with water (about 10%) and using long, smooth strokes.
Can I paint over previously painted furniture?
Yes, as long as the existing paint is in good condition (not peeling or chipping). Lightly sand for adhesion and clean thoroughly before applying new chalk paint.
Is chalk paint safe for children’s furniture?
Most major chalk paint brands offer non-toxic, low-VOC formulas that are safe once fully cured (typically 21–30 days). Always check the manufacturer’s safety data sheets and use a non-toxic sealer.
How do I fix a wax finish that feels sticky?
Sticky wax usually means too much was applied or it wasn’t buffed enough. Apply a thin layer of fresh wax over the sticky area (fresh wax softens the old wax), then buff vigorously with a clean, lint-free cloth until the surface feels smooth.
Can I use chalk paint outdoors?
Standard chalk paint is not formulated for exterior use and will not hold up to weather. If you want to paint outdoor furniture, use an exterior-grade chalk-style paint or a dedicated outdoor furniture paint with UV protection.
Your Next Weekend Project Starts Now
There’s a reason chalk paint furniture makeovers have captured the hearts of DIY enthusiasts, busy parents, apartment dwellers, and design lovers across the country. They’re accessible, affordable, deeply satisfying, and transformative in ways that go far beyond aesthetics. Every scratched thrift store dresser, every dated oak cabinet, every wobbly garage sale chair holds the potential to become something you genuinely love—a piece that tells a story, reflects your personal style, and saves perfectly good furniture from the landfill.
You don’t need a workshop full of expensive tools or a design degree to create painted furniture ideas that look high-end and intentional. You just need curiosity, a little courage with color, and the willingness to pick up a brush this weekend. Whether you’re dreaming of a soft sage green nightstand for your bedroom, a bold teal coffee table for your living room, or a cozy mustard yellow bookshelf for your reading nook, the only thing standing between you and your dream space is a can of paint.
So head to your local thrift store, browse Facebook Marketplace, or take a fresh look at that tired piece you’ve been meaning to replace. Your next creative furniture makeover is waiting—and it’s going to be absolutely beautiful. Happy painting!